How to get Tailscale running on an Asustor NAS 🔗
I’m pretty easy to influence - I basically have no idea what I’m doing 99.9% of the time. So when I tweeted that I was for NAS recommendations, people insisted that I setup TailScale on what ever I use.
Going against every reply to my tweet, I purchased an ASUSTOR NAS at the recommendation of my dad… which at the recommendation of a LinusTechTips video. IDK 🤷♀️
When it was time to start getting Tailscale set up on this baby, it turned out there was zero documentation around it. I did check the Asustor app store, where there is a Tailscale app, but from what I’ve learned, it’s not official.
Before I knew it was an unofficial community app, I installed it. But, the app took me to a screen asking me to go back and re-login to verify the account… which was mad sus. So I endeavoured to try and install it on my own.
Here’s the thing about the Asustor documentation — it’s not the best. I made this blog post to teach you how I did it.
Let’s start with getting SSH access up and running.
SSH 🔗
Once you’ve started up your NAS and followed the preliminary set up steps, you will have a dashboard that you can access using the base IP address of the NAS and certain login credentials that you decided on.
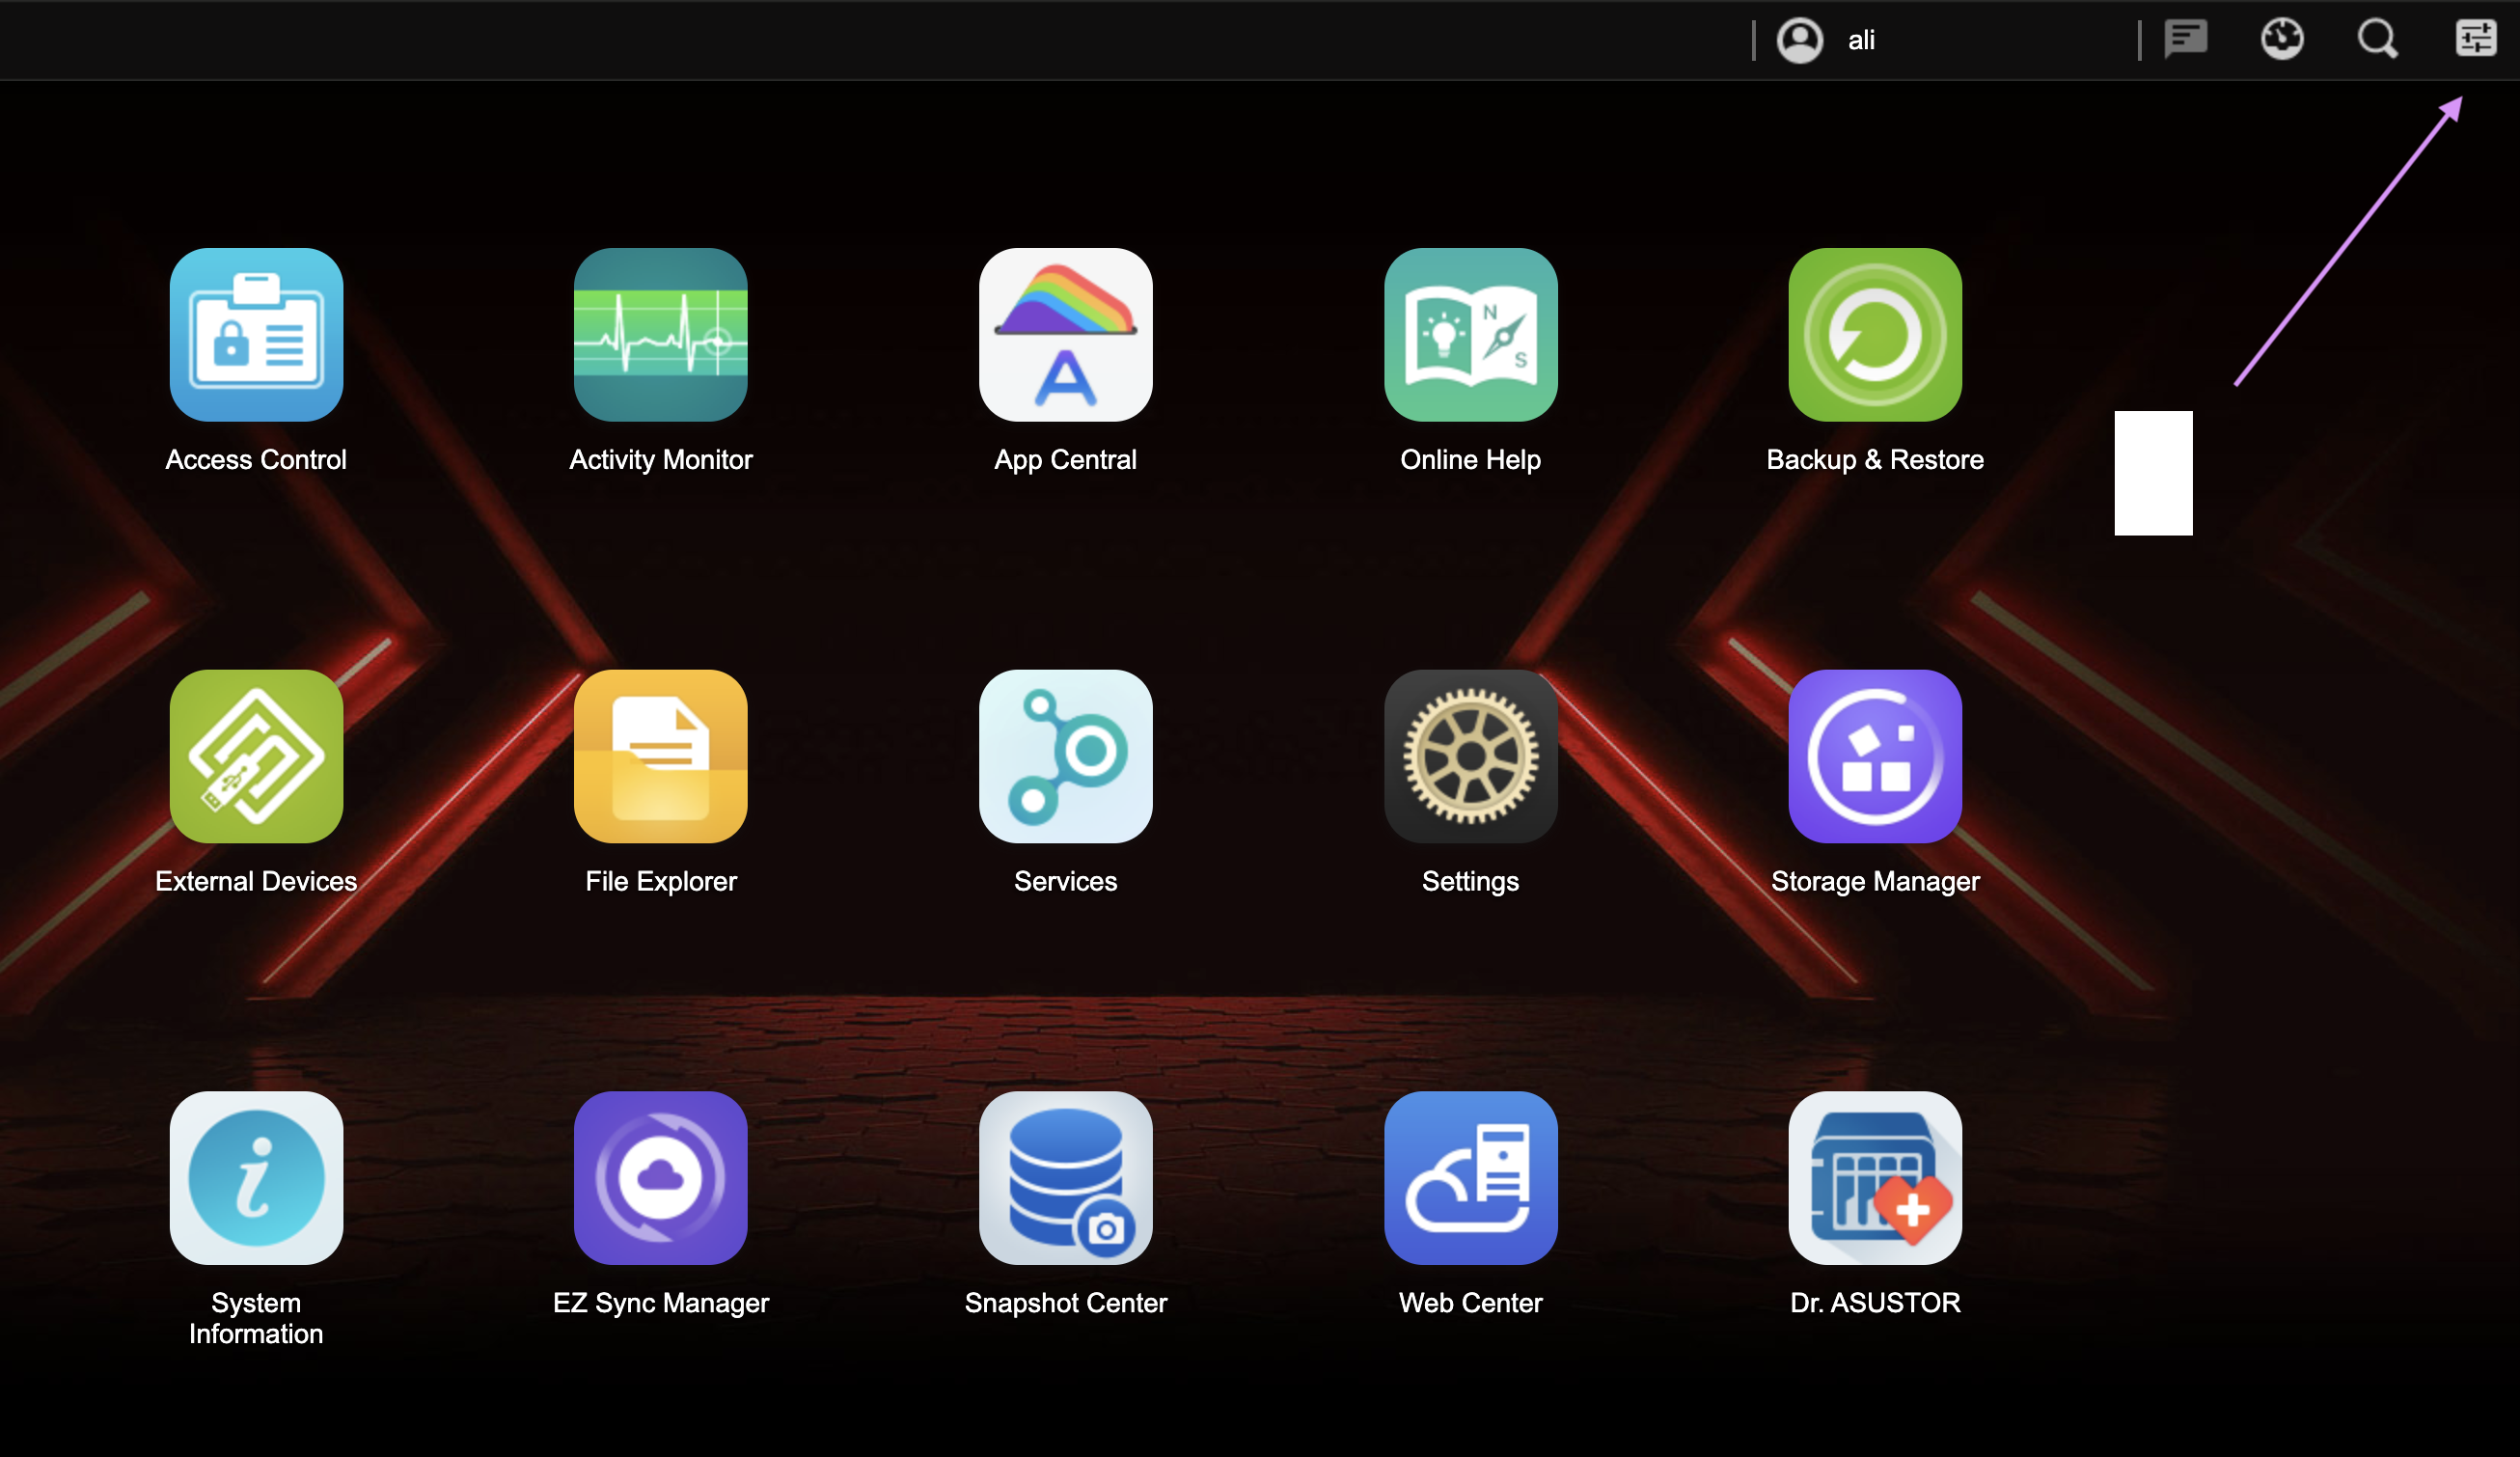
To activate SSH access, you think it would be via the Settings app.
Actually no, its not.
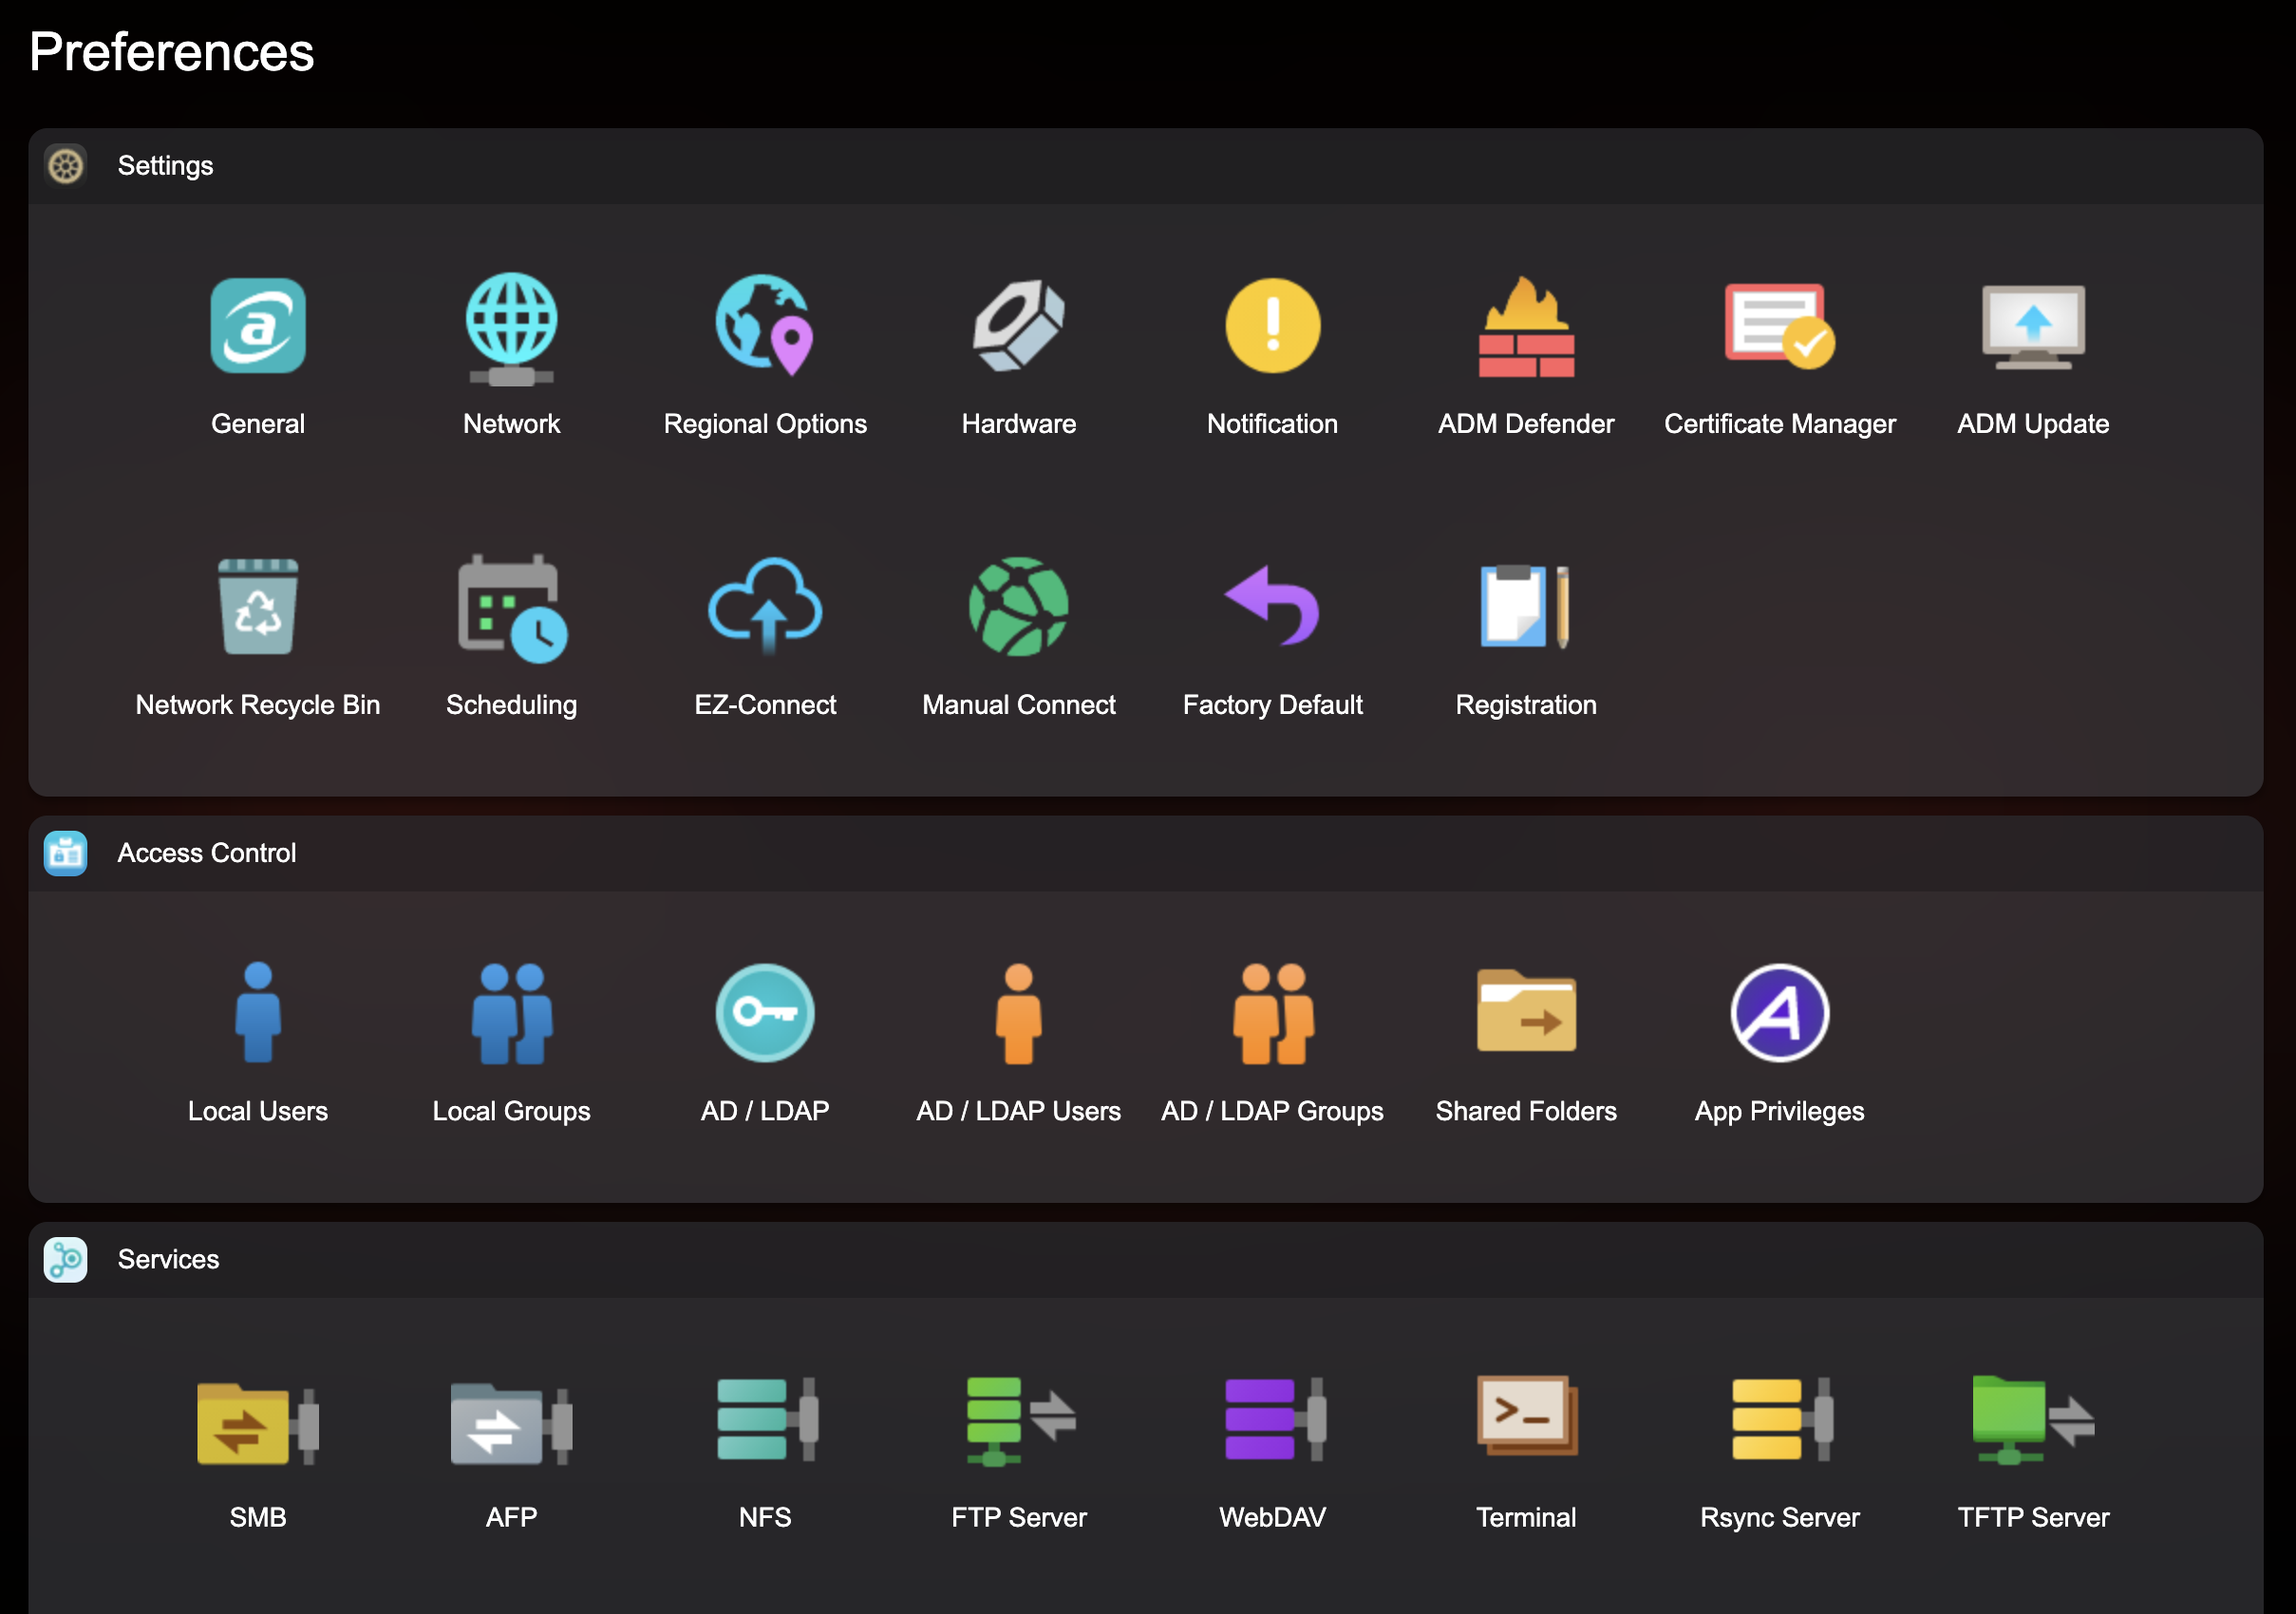
To enable SSH on an Asustor using the portal, you must click this button on the top right corner. This opens a whole other settings menu that isnt available in the settings menu that is on the homescreen.
Scroll down to under services, and select Terminal. A menu will pop up - click the radio(check) box labeled “Enable SSH service”
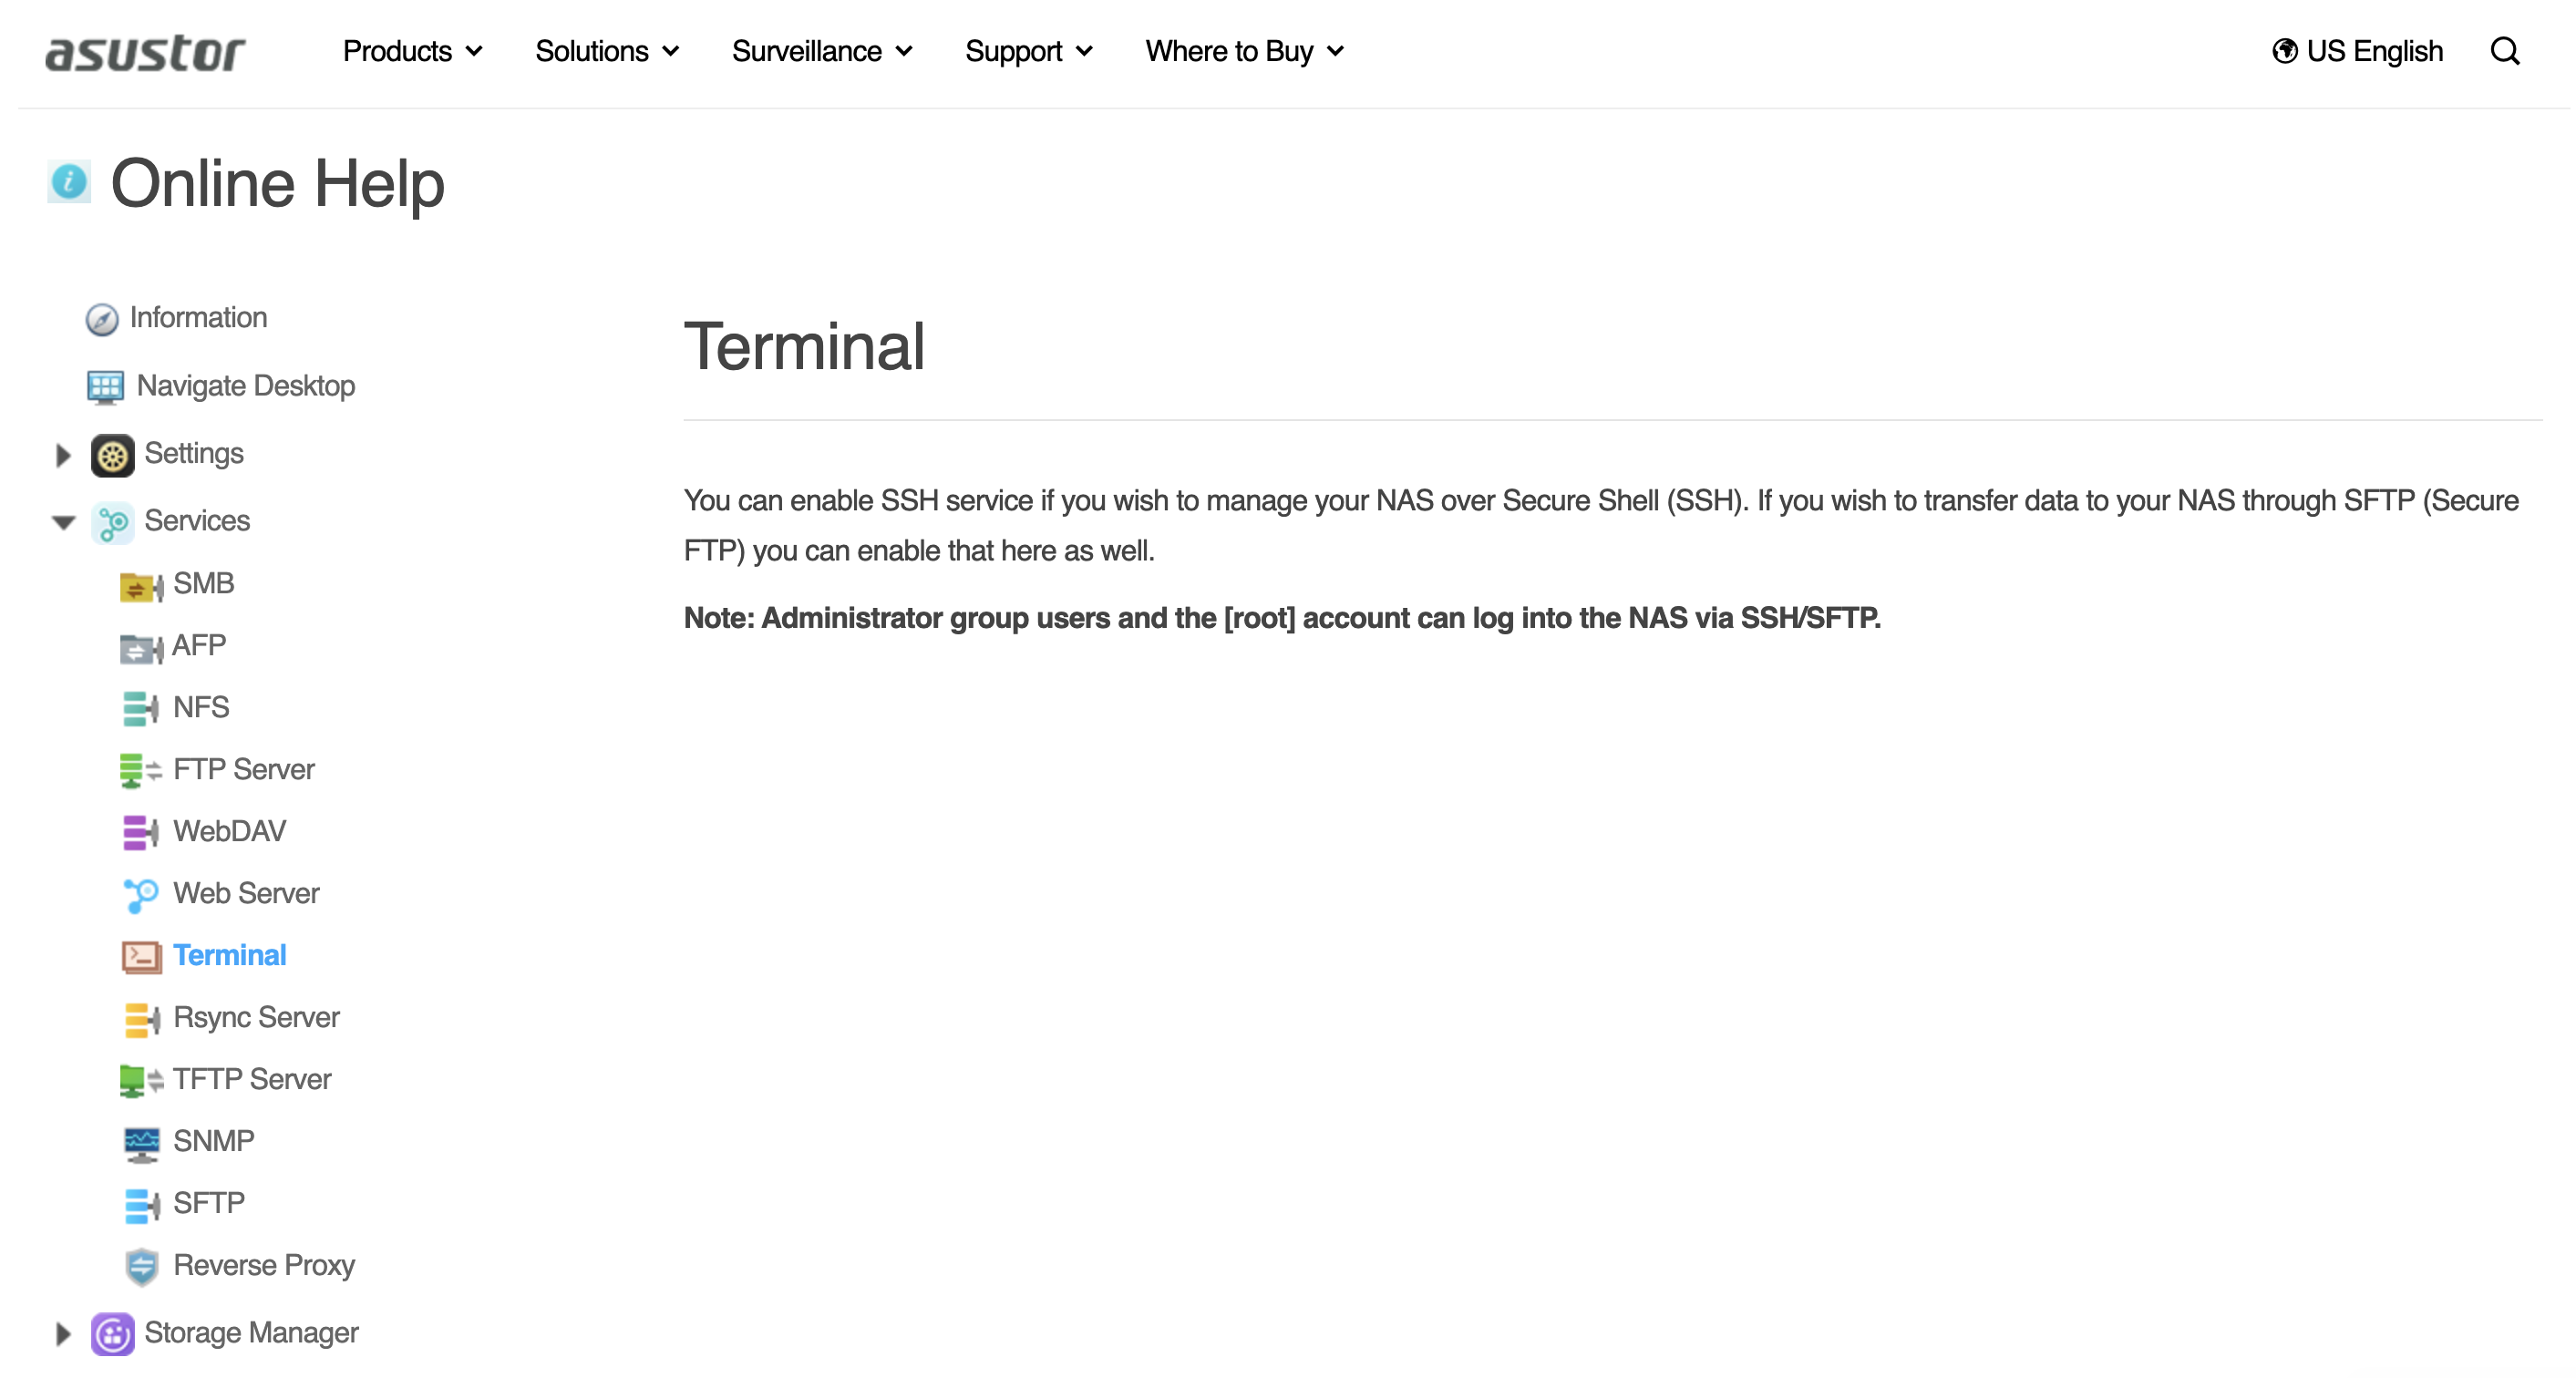
Congrats! You’ve activated SSH. Being honest… it literally took a friend of mine and I twenty minutes to figure this out. Especially when the documentation around how to do it looks like this 🤷♀️.
Installation 🔗
It turns out that Asustor uses a custom version of Linux, so all the Tailscale instruction sets for installing don’t apply.
Luckily, my friend @supersat is good at Linux, and knows Tailscale. Actually, the first time I ever met them in person, they were attempting to get Tailscale up and running on an OLPC computer. I shot them a message, hopped on a Discord. call and together we figured it out. Here’s how it goes:
First SSH into your NAS
$ ssh [your username]@[nas ip address]
Pull the latest stable release of TailScale found here.
$ wget [https://pkgs.tailscale.com/stable/tailscale_[version]_amd64.tgz](https://pkgs.tailscale.com/stable/tailscale_1.58.2_amd64.tgz)
Unzip the .tgz file
$ tar -xvzf [/path/to/tailscale.tgz]
Then, cd into the unzipped file
Run the following command to get the Tailscale daemon to run as a process:
$ sudo nohup ./tailscaled --tun=userspace-networking
This will cause your terminal to hang. Press CTRL+Z on your keyboard to suspend this process. Run the following command to take that suspended process and resume it in the background:
$ bg
Next, spin up the Tailscale process
$ sudo ./tailscale up
Follow the instructions it gives you - which involve logging into Tailscale on the browser. This will result in you getting an IP address.
Congrats! You now have Tailscale running on your Asustor NAS. You can check the health of the Tailscale address by running a quick ping using any terminal - yes the one that is not ssh’d on your computer - to confirm connectivity.
$ ping [ip address]
Just as a heads up, this is kind of a work around we decided on really quickly. If you restart your NAS, you’re going to have to follow the steps to get both the daemon and process running again.
Go be silly with your NAS, or for what ever reason you want to get Tailscale running on the ADM (ASUSTOR Data Master) operating system.
I want to give a big thanks to @supersat for helping me get this up and running!
